Monday, June 20, 2011

Simple Thanks: Greeting Card

Hello All!  I've been away a few days.  It was a really busy weekend with helping my sister and her soon-to-be husband move into their new house.  It was literally an all day affair and yesterday was spent recooperating.  I'm still feeling muscles that I haven't felt in a LONG time!

So, today's card is a very simple card that I actually cannot take credit for.  My friend made it for me and I simply copied it *blush*.  I'll admit that my creativity is a little sleepy right now.  I'm hoping it comes back to me later this week. 


I'm working on baby cards for a swap that I'm participating in over at SCS, so I have a boy, girl and neutral baby card to make.  I've been stamping away, and haven't come up with a keeper yet.  I'll certainly keep you updated as I decide what to do.

Thanks for stopping by.  Happy Crafting!

Friday, June 17, 2011

Thinking of You Greeting Card

I'm late with my post today.  It was a busy night last night, so I didn't get to play in my room and prepare anything to post until I got home from work today.  So, here it is.

Today's card is a CAS (Clean and Simple) card with no layers...just direct stamping.  I know!  Shocking for me to have no layers, just the card base.  It was a good challenge for me.  I made the card in honor of StamperCamper over at SCS.  She's the featured stamper this week for the FS227 challenge.  For the Featured Stamper challenges, we go look through the selected person's gallery on SCS and choose a card to case.  StamperCamper had an amazing gallery.  She's very talented!

Here is the card I made from her inspiration...It's almost identical to her card, with a different Thinking of your sentiment, different colors, and that's it...


I don't typically round the corners of my cards, but I really liked the look it added to the card in my CASE.  I can't tie a bow as well as StamperCamper either, but I tried.

I used Bliss and Trendy Trees for the stamps and the finished with black satin ribbon and a rhinestone brad from my stash.

Thanks for looking!

Thursday, June 16, 2011

Thrifty Thursday Paper Crafting Tutorial: Make Any Size Envelope

Before I jump into today's tutorial about envelope making, I'm going to show you the card we'll be making the envelope for.

 This card measures 8 x 3 1/2" and uses Lovely as a Tree and Close as a Memory stamp sets from Stampin Up.
 I used Chocolate Chip and Very Vanilla paper, Chocolate Chip ink.
 The ribbon is Very Vanilla, and the corduroy brad is Chocolate Chip
 It looks like I need to re trim my ribbon!  OOPS!

Okay, onto the tutorial.

Many times that I make cards my brain sees things not in the traditional size card.  I decided that it was silly to limit myself when it's really easy and cheap to make your own envelopes.  I'll share the tutorial below to show you how easy it is.  My sample card measures 8 x 3.5", but this technique will work for any size as long as the paper you start with is larger than your card.

Let's start with your supply list:
  • bone folder
  • piece of paper
  • scissors
  • adhesive
  • double sided adhesive for closure flap
  • corner rounder, optional

 Step 1:  Align your card close to centered on the paper
 Step 2:  Using the point of your bone folder, score the paper above the top of your card
 and fold using bone folder for defined crease.
 Step 3:  Score below your card adding 1/8 to 1/4" depending on the thickness of your card
 Step 4:  Repeat the scoring process on each side of the card.
Step 5:  Remove the card and ensure that your crease marks are crisp
 This is what your card and envelope should look like at this point.
Step 6:  Remove the left and right top tabs from the envelope flap
Step 6 continued
Step 7:  Use the corner rounder on the top flap of the envelope
Step 7 continued
Step 8:  Use the corner rounder on the top "pocket" of the card
Step 9: Apply adhesive to the bottom portions of the side tabs
Step 10:  Fold and secure bottom of envelope
Step 11:  Apply double-sided adhesive to secure the completed envelope.

There you are!  A custom envelope for the cost of a sheet of paper and some adhesive.

Wednesday, June 15, 2011

Personal Update: Heart Transplant

I decided to make a second post today.  This post is an update on my sister, and her journey after having her heart transplant in October 2010.  This month marks the 8 month anniversary of receiving the gift of life.  She is doing amazing and is able to participate in life like she wasn't able to before the transplant. 

As I shared with you earlier this month, she was able to participate in the American Heart Association Heart Walk this year.  It's is a 5K walk and is the second that Jen has been able to participate in since her transplant.  She wasn't able to walk more than a few feet without being short of breath, or needing to sit down to rest.  Those are events of the past!

Jen on left, her beautiful donor on right.

For the Heart Walk, Jen captained our team, Gift of Life.  As a group we raised $1595.00!  Jen walked for transplant donors and recipients, and the sister and brother-in-law of Jen's donor also walked with our group.  It was very special for us to have them participate in the event with us. 

It was a tragedy for them that brought them into our lives, and we grieve for their loss, but are so grateful and humbled for their gift.  I pray for their continued healing, and praise God for the progress and physical strength that my sister has been blessed with.

Thanks for sharing part of this journey with us.

Quadruple Challenge Greeting Card

Today's card was made for some challenges over at SCS.  This meets the requirements for the TLC329 challenge which was patchwork, the CAS123 challenge was a Clean and Simple sketch, the WT326 which was to use paper piercing, and the CC327 which was color challenge Old Olive, Chocolate Chip, and Vanilla.
 I love the color combo, the sketch and the patchwork look, so I knew I'd be participating this week!  I am sure I'll make a few more!

 I used my ruler and a piercer to make a line above the image.
 I used a background stamp and stamped onto Very Vanilla.  Then  I used my 1" punch to punch the image into nine squares which I reassembled on a piece of Old Olive cardstock.  I went for "dessert" which was to round corners.
 I ran my finished image through a swirl embossing folder, punched my sentiment out, and pierced the scallops as well.
Thanks for looking!

Tuesday, June 14, 2011

Polka Dot Greeting Card Swap

As I mentioned a week or so ago, I joined my first card swap at Splitcoaststampers.  Well, I mailed them out and our hostess received the package today!  Below is the card that I made.  I had a "ball" with this theme!  I LOVE polka-dots, and tried to put them into every aspect of the card.
 I used an embossing folder with a circle theme, and again used my sanding block to let some of the white come through.  I used three pattern papers from My Mind's Eye, and one Chocolate Chip circle that I ran through a polka-dot embossing folder.
 These colors aren't showing the best, but are Chocolate Chip, a turquoise that closely resembles Tempting Turquoise, White, and some of the pattern papers have almost a lime green hue to the dots.

 I used the Chocolate Chip corduroy button for more polk-dots
 And I used three brads for more polka-dot mania!
 Here is a final look at my first swap card.  Thanks for looking!  I'd love to know what you think!

Sunday, June 12, 2011

Inspired by Nature: Birthday Easel Greeting Card

Today I had some wonderful friends come over to help assemble wedding invitations for my sister's wedding.  She is the inspiration for my blog name, Etsy ID, and eBay ID, and I love her a ton!  Today was really productive and we were able to finish all the invitations we had enough supplies to finish.  That being said, we didn't have enough of the printed words, or pearls, so we'll have to get together again to finish the invites. 

Being that we weren't able to finish the invites completely, we were done earlier than we expected, so there was time to play.  Angela and Vonnie made cards as Norma and I helped them with guidance and assistance (ok, my bossiness may have taken over a few times).  Both ladies made a beautiful birthday card.  Angela decided on an easel card, and Vonnie made a standard card.

Both ladies have scrapped with me for years, but Vonnie is new to the stamping world and was a bit aprehensive about making the card.  They both turned out lovely and I think I've helped identify a new addiction for Vonnie!  :)  ENABLER!

I'm grateful for the wonderful friends that my hobby has brought into my life and I'm happy that everyone seemed to enjoy the day.  Here are photos of Angela's easel card.


Each of the ladies used a base of So Saffron, and then Chocolate Chip and Whisper White.
 They used Chocolate Chip satin 5/8" ribbon, and the stamp sets Inspired by Nature, and Well Scripted.

 Ink colors are Old Olive, Chocolate Chip, and Daffodil Delight.  They used daubers to fill the stamp with ink for the flowered image, and stamped off the grass image for a lighter background look.
Angela decided to use the Cricut and cut out butterflies as her "stoppers" and we embossed each with embossing folders and the Cuttlebug.
Thanks for looking!

Saturday, June 11, 2011

Simple, Bright, and Fun Greeting Cards

The weather in Minnesota this week was a bit off.  We started the week at 104 and are starting the weekend at 53 degrees.  However, the similarity in most of the weather was that the sun has been shining.  I decided to use one of my newly favorite colors, Daffodil Delight,  for some simple cards. 

I have 5 crafting friends coming over on Sunday to help me finish up wedding invitations, and then I can spend more detailed time on my paper crafts again.  I'm getting ready to start my 2012 calendars...Stay tuned.

Here is the first card.  I used the technique of stamping and punching shapes out instead of using pattern paper.  I first shared this look with you in a Thrifty Thursday tip with a square card which you can find here.

 For this look, I trimmed the two outside circles in each row.
 I pop-dotted three of the 1 inch circles, and used a punch for the flowers and embellished them with pearls.
 I decided that I wasn't going to limit myself to stamps that were shaped like circles this time, and I used some of my background stamps and just punched them out as well.

A close up of some of the circles.
Another look at the final card.


Onto card number two.  I made this card for a CAS (Clean and Simple) challenge over and Splitcoaststampers, which was a play on words.


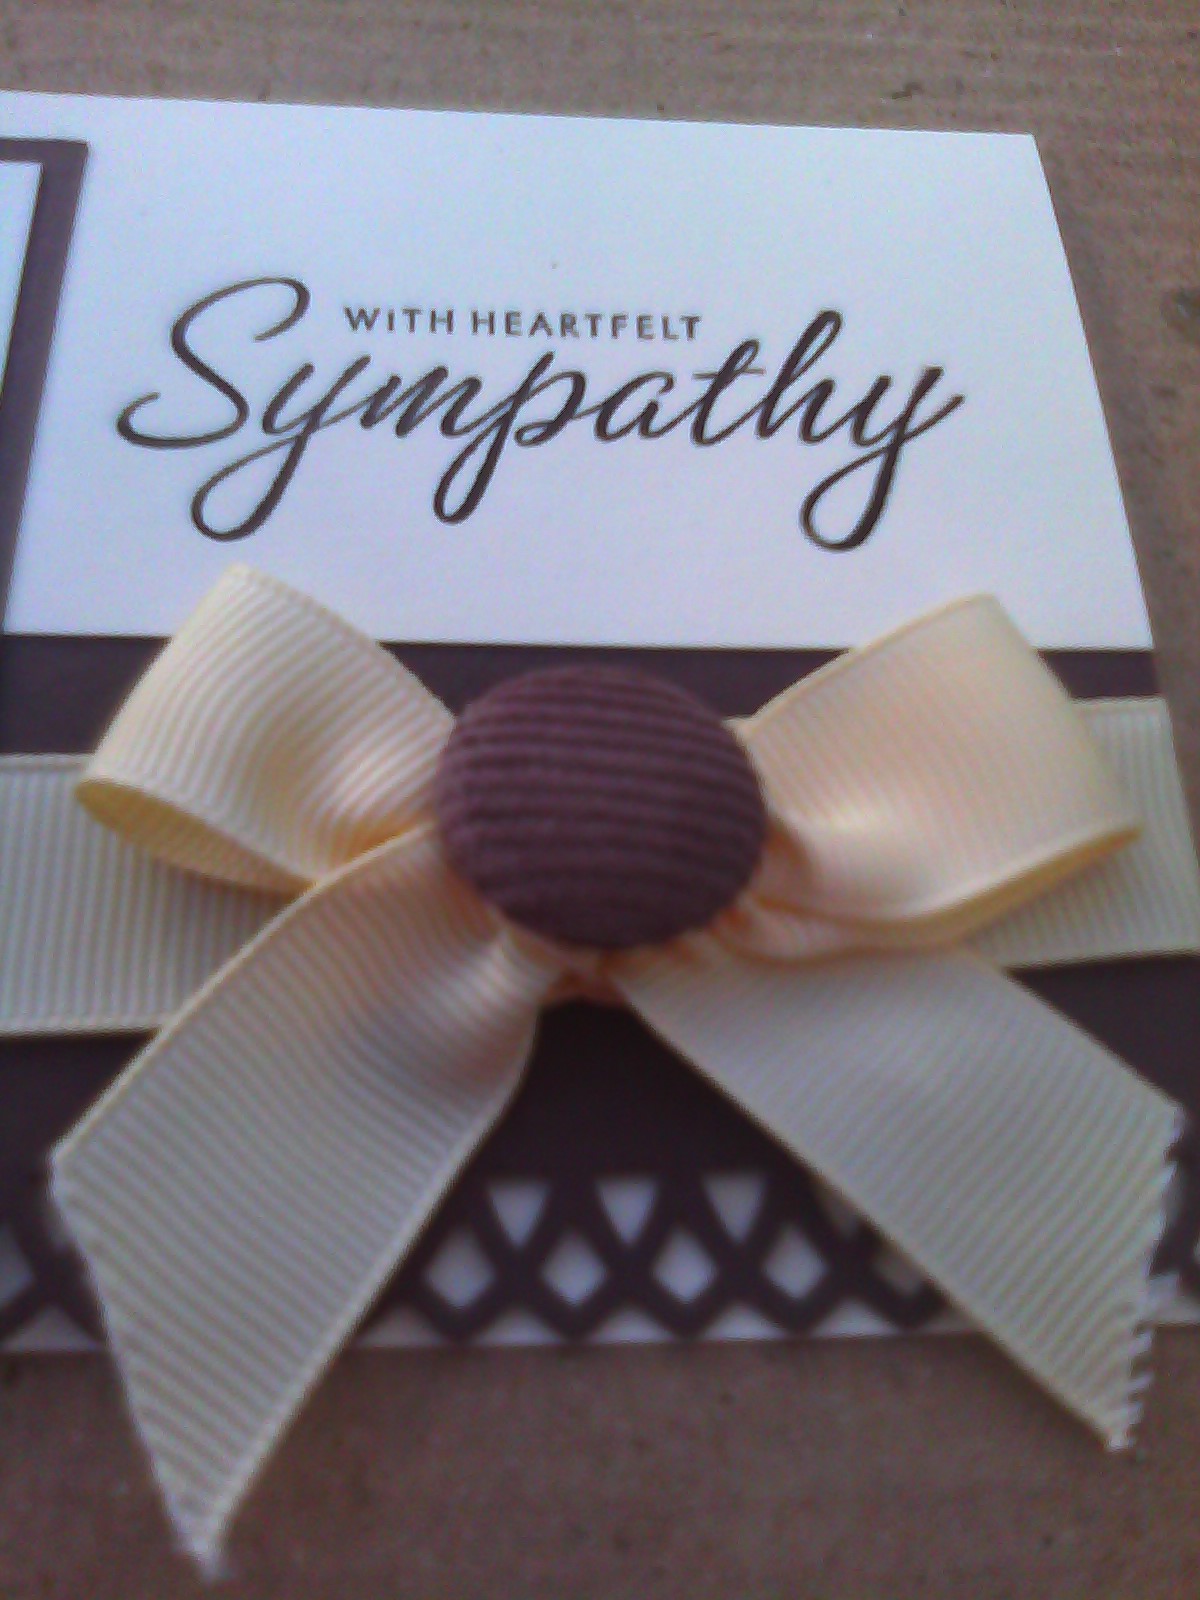
 I used the same Daffodil Delight color for this card.  The stamped image is actually two stamps from different makers, and the flowers actually did have real flower heads that I covered with the buttons and the crochet flower.
Call out to my wonderful sister-in-law, Mary, who made the crochet flower which is the focal point of this card.  Thanks honey!

 The buttons were from my stash...I'm still working on using a giant random bag that I bought at a garage sale almost 5 years ago.

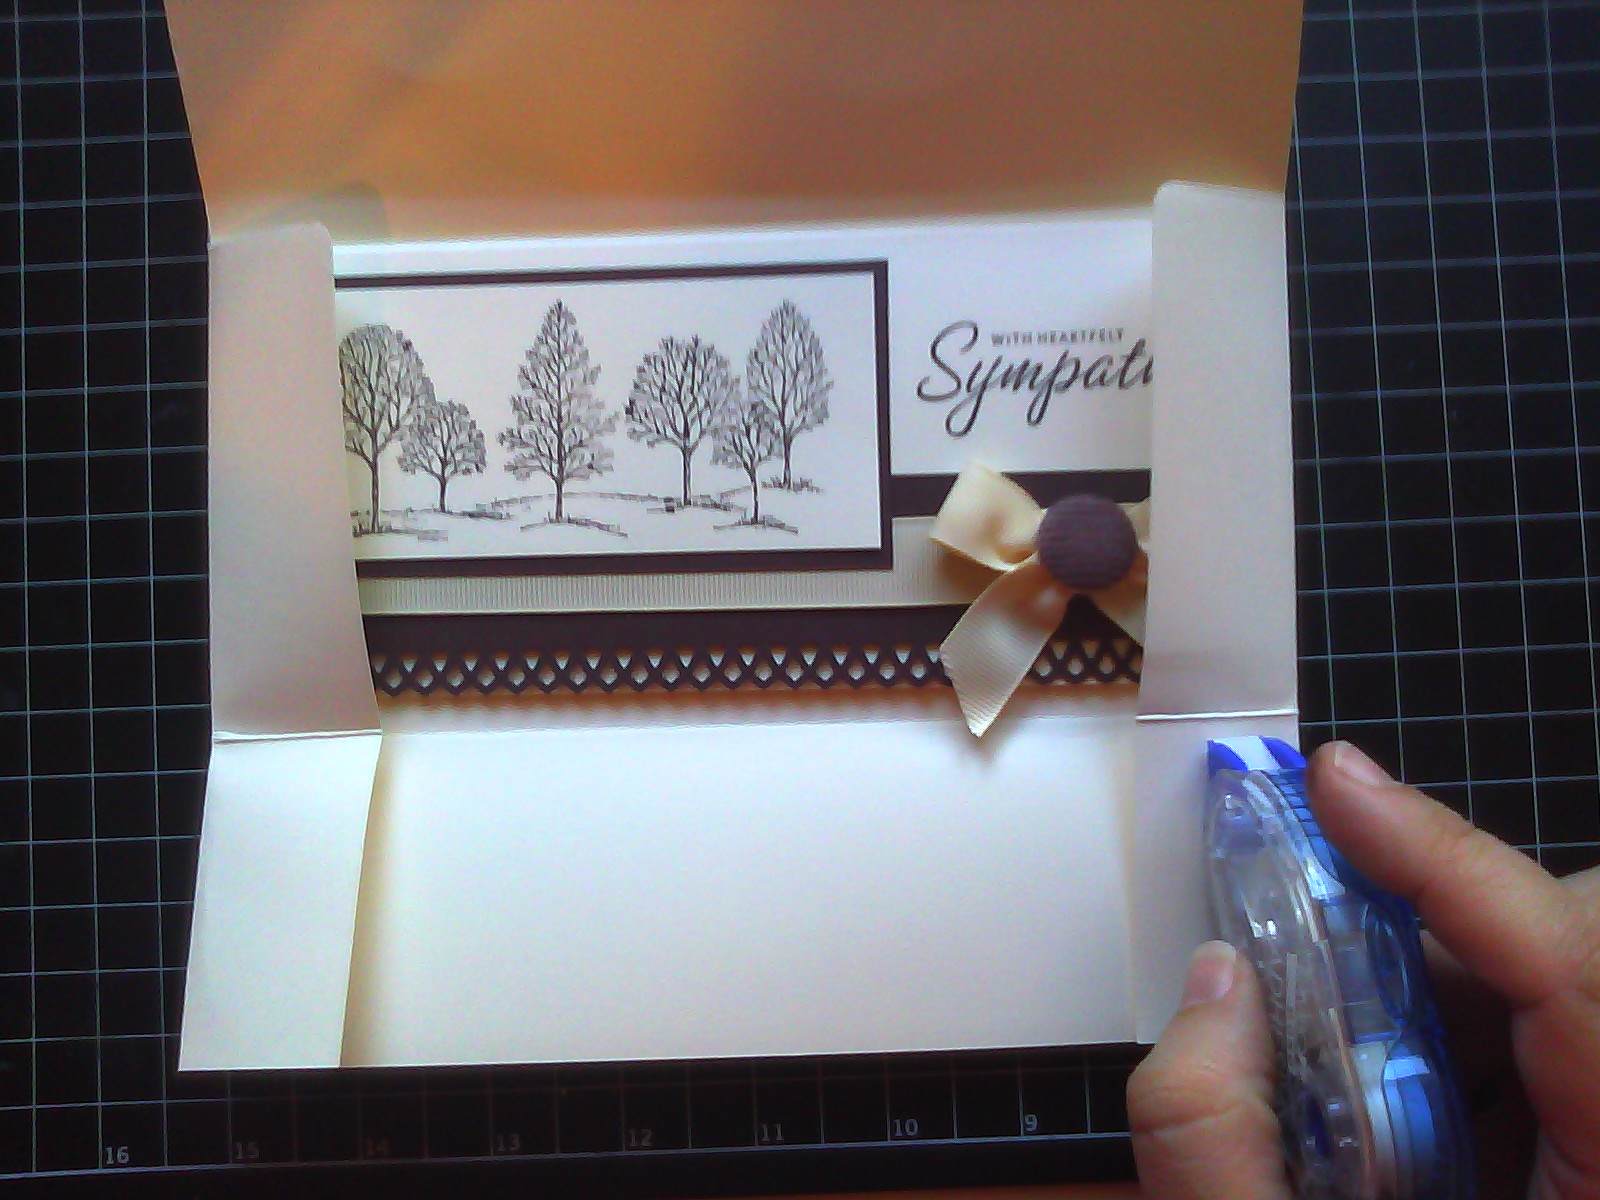
 This is the first time that I've folded ribbon on a card.  I like the look, and was trying to decide if I should continue the folding across the entire card, and as you can see, in the end I decided to only fold a portion of the ribbon.
 I used my Martha Stewart version of the Scor-Pal to emboss a "frame" around my image.
 Here is a close up of the flowers and the sentiment, "bloom where you're planted"

 And one more look at the card.

Thanks for looking!