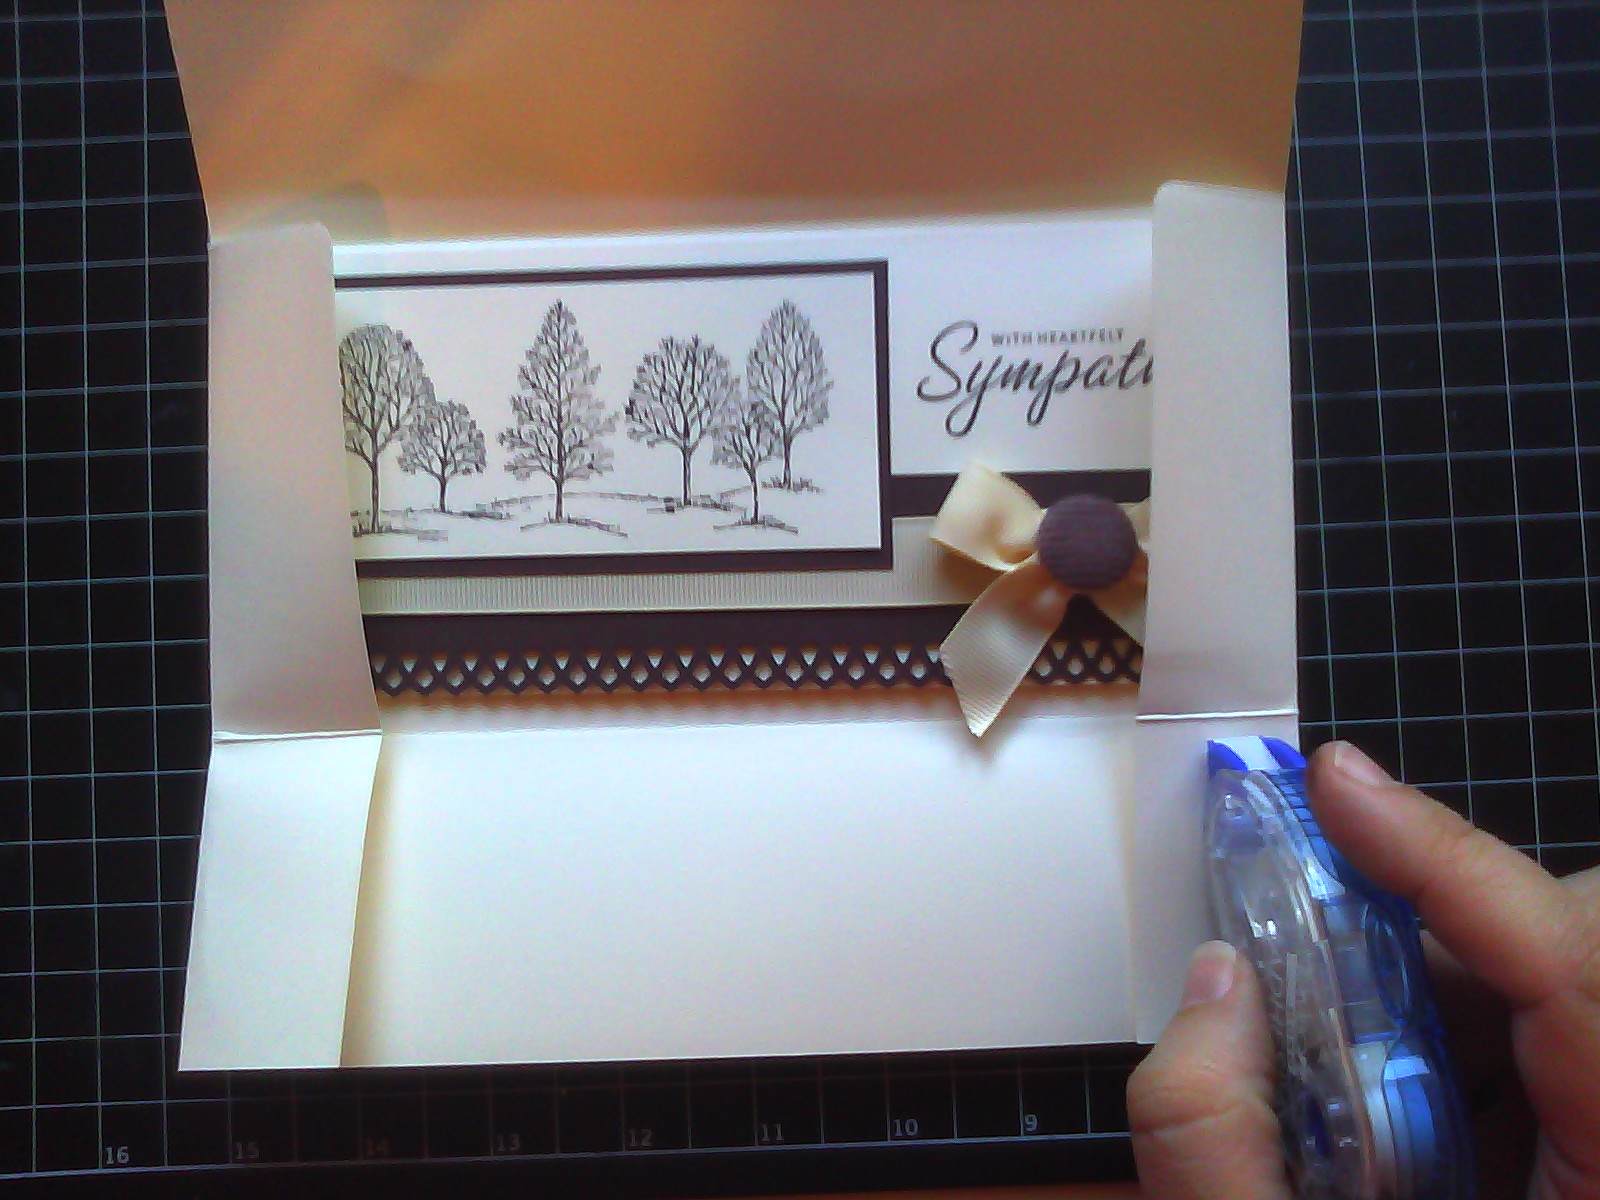
Before I jump into today's tutorial about envelope making, I'm going to show you the card we'll be making the envelope for.

This card measures 8 x 3 1/2" and uses Lovely as a Tree and Close as a Memory stamp sets from Stampin Up.

I used Chocolate Chip and Very Vanilla paper, Chocolate Chip ink.

The ribbon is Very Vanilla, and the corduroy brad is Chocolate Chip
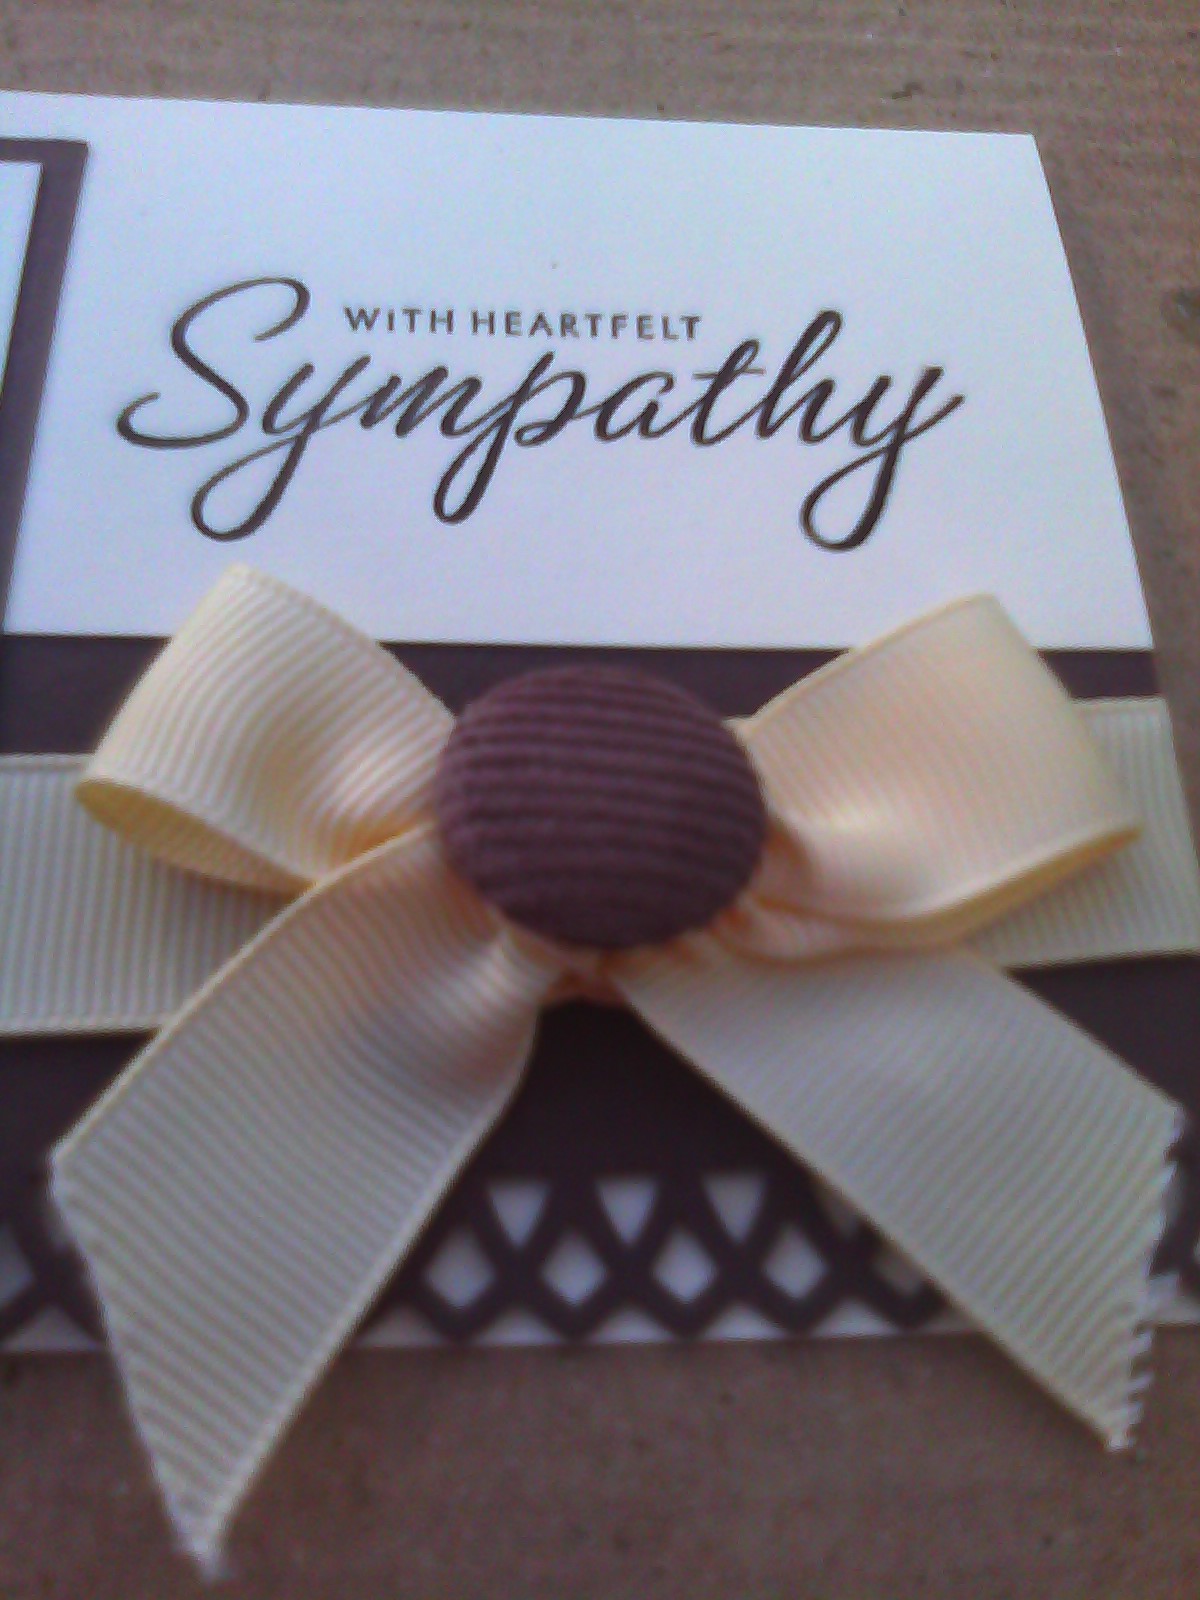
It looks like I need to re trim my ribbon! OOPS!

Okay, onto the tutorial.
Many times that I make cards my brain sees things not in the traditional size card. I decided that it was silly to limit myself when it's really easy and cheap to make your own envelopes. I'll share the tutorial below to show you how easy it is. My sample card measures 8 x 3.5", but this technique will work for any size as long as the paper you start with is larger than your card.
Let's start with your supply list:
- bone folder
- piece of paper
- scissors
- adhesive
- double sided adhesive for closure flap
- corner rounder, optional

Step 1: Align your card close to centered on the paper

Step 2: Using the point of your bone folder, score the paper above the top of your card

and fold using bone folder for defined crease.

Step 3: Score below your card adding 1/8 to 1/4" depending on the thickness of your card

Step 4: Repeat the scoring process on each side of the card.

Step 5: Remove the card and ensure that your crease marks are crisp

This is what your card and envelope should look like at this point.

Step 6: Remove the left and right top tabs from the envelope flap

Step 6 continued

Step 7: Use the corner rounder on the top flap of the envelope

Step 7 continued

Step 8: Use the corner rounder on the top "pocket" of the card

Step 9: Apply adhesive to the bottom portions of the side tabs


Step 10: Fold and secure bottom of envelope


Step 11: Apply double-sided adhesive to secure the completed envelope.

There you are! A custom envelope for the cost of a sheet of paper and some adhesive.


No comments:
Post a Comment