Thursday, May 12, 2011

Wedding Invitation Mock-Up

Yesterday I told you I'd share the mock-up invitations for my sister's wedding.  Remember, these are mock-ups and the final product will be MUCH better :0)


The colors are Black, Iris, and Ivory.  The scribble you see in this photo will actually be the bride and groom names and will be layered ivory, iris, and black.  The "belly band" is the iris color which is showing up much brighter in this photo (I lost my natural lighting--I was up WAY too late)

The black piece opens up--the seam is hidden behind the belly band.

 Once fully open you'll see the initial invite with the reception and RSVP cards behind them.
It's kind of hard to see and the layers are about 1/8" different, but there is a backing of black, then iris, and then the ivory which will obviously have their wording.  The finishing touches are the black ribbon and a strip of petite pearls.

We have a ton of work cut out for us this weekend, but I can't wait for my sister to see the first "complete" invitation!

Thanks for stopping by today, and HAPPY CRAFTING!

Wednesday, May 11, 2011

Best Wishes: Simple Elegant Wedding Card


Well, I have weddings on the brain because I've recently been given the privilege of helping my one and only (and twin) sister plan her wedding for this Fall.  A group of my fellow paper crafting girlfriends are coming over on Sunday to help me assemble 250+ wedding invitations for the exciting event!  Tomorrow I'll share with you the "mock-up" of the invites for the big day!

Today, I'm showing you a super simple and elegant wedding card (or congratulatory).  I think that black and ivory or black and white is a very classy look, and what better color scheme for a wedding?
 I used a piece of pattern paper, black and ivory cardstock, a black satin ribbon, a paper edge punch and a strip of flat back pearls for this simple card.
 I chose to mount the border punched piece of paper just above the pattern paper to allow for three distinct visual points, the black at the top, the ivory border, and then the pattern paper.
 I mounted the sentiment to the right side of the card so that more of the full pattern showed of the paper.
I stamped the inside with a sentiment that could be used for something other than wedding, but would also work for wedding.

Thanks for stopping by and taking a look!


Monday, May 9, 2011

Personal Update

Many of you have followed the journey that my sister and my family have had while we waited for and received the amazing gift of a new heart for her.  She received her new heart on 10/25/2010 and our lives have been completely altered.  She's living life with a zest I've never seen in her before, and she's happy.  She doesn't have to wait in fear anymore.  She has a wonderful gift that enables her to truly live and enjoy life.

Today I met the donor family for the first time, and I wish it had been under different circumstances.  God's plan for our lives often takes roads we don't understand, but having been raised by amazing parents, I believe that He has a plan for everything and He can bring good from bad.  I met this amazing family at the sentencing of the young man who took the life of their loved one.  I can't fathom the grief they have experienced for the last 6 months, but one thing that I'm sure of is that God was with them today.  They had the strength to stand before the judge and the young man responsible for their loss and express their feelings. 

I can't find the words to describe my sympathy for them.  Had they not experienced this incredible loss, my sister wouldn't still be here today.  They were able to look beyond their grief to give the gift of life to another.  My sister was able to walk the 5K Susan G. Komen Race for the Cure yesterday, and had she not received the gift of a new heart, I don't believe she would have been able to do that.  I will forever be grateful for their gift of life.

I pray for healing for our donor family and their friends.  I also pray for the young man who will have to live with the mistake he made that ended a precious life. It was extremely emotional to listen to the stories of the people impacted by one poor decision.  I pray that the family can eventually forgive this young man and find true peace in knowing that they precious loved one has continued giving even in her death.  She is now enjoying the rewards of heaven and her beauty continues to grow.

Saturday, May 7, 2011

Simple Masculine Card

I've been making a lot of feminine cards lately and decided it was time for a masculine card.
 The recipe for this one was very simple.  One piece of patter paper, two pieces of cardstock, some punches, and paper piercer, and some ink pads for distressing, all finished with a ribbon.


The outside says Wish Big, and the inside says "have a great birthday!"

Wednesday, May 4, 2011

Black-eyed Susan Birthday Card

Today's card is a 6 x 6" square card that I created with a few different techniques. 

 I started by stamping my image in Versamark and then "popping" color of chalk over the Versamark
 I used a vellum, metal rimmed tag and stamped my sentiment onto it.
 Here is a close up of the main Black eyed Susan.
 Once I finished chalking my image, I ran the paper through my embossing folder for a textured look of faux fabric.
 I ran my accent paper through the same embossing folder, embellished the card with ribbon, brads, and a button.

This card is eligible for the following challenges:

Birthday Sundaes:  Anything goes
Sketch Saturday:  Sketch
Papertake Weekly:  Anything goes
One Stitch at a Time:  Emboss it
Splitcoast Stampers:  Inspired by the sun F4A57
Thanks for looking, and happy stamping!


Monday, May 2, 2011

Garden Cards: Mother's Day 6-Pack

I was working on a 6-pack of cards for a co-worker to send her mother-in-law for Mother's Day.  She selected a garden theme and said that her MIL likes greens and blues.  Below are the cards and box I created for her.


I used cardstock from Stampin Up and pattern papers from DCWV Cafe Mediterranean paper pack for the box.
Here is a look at the box and all the cards.

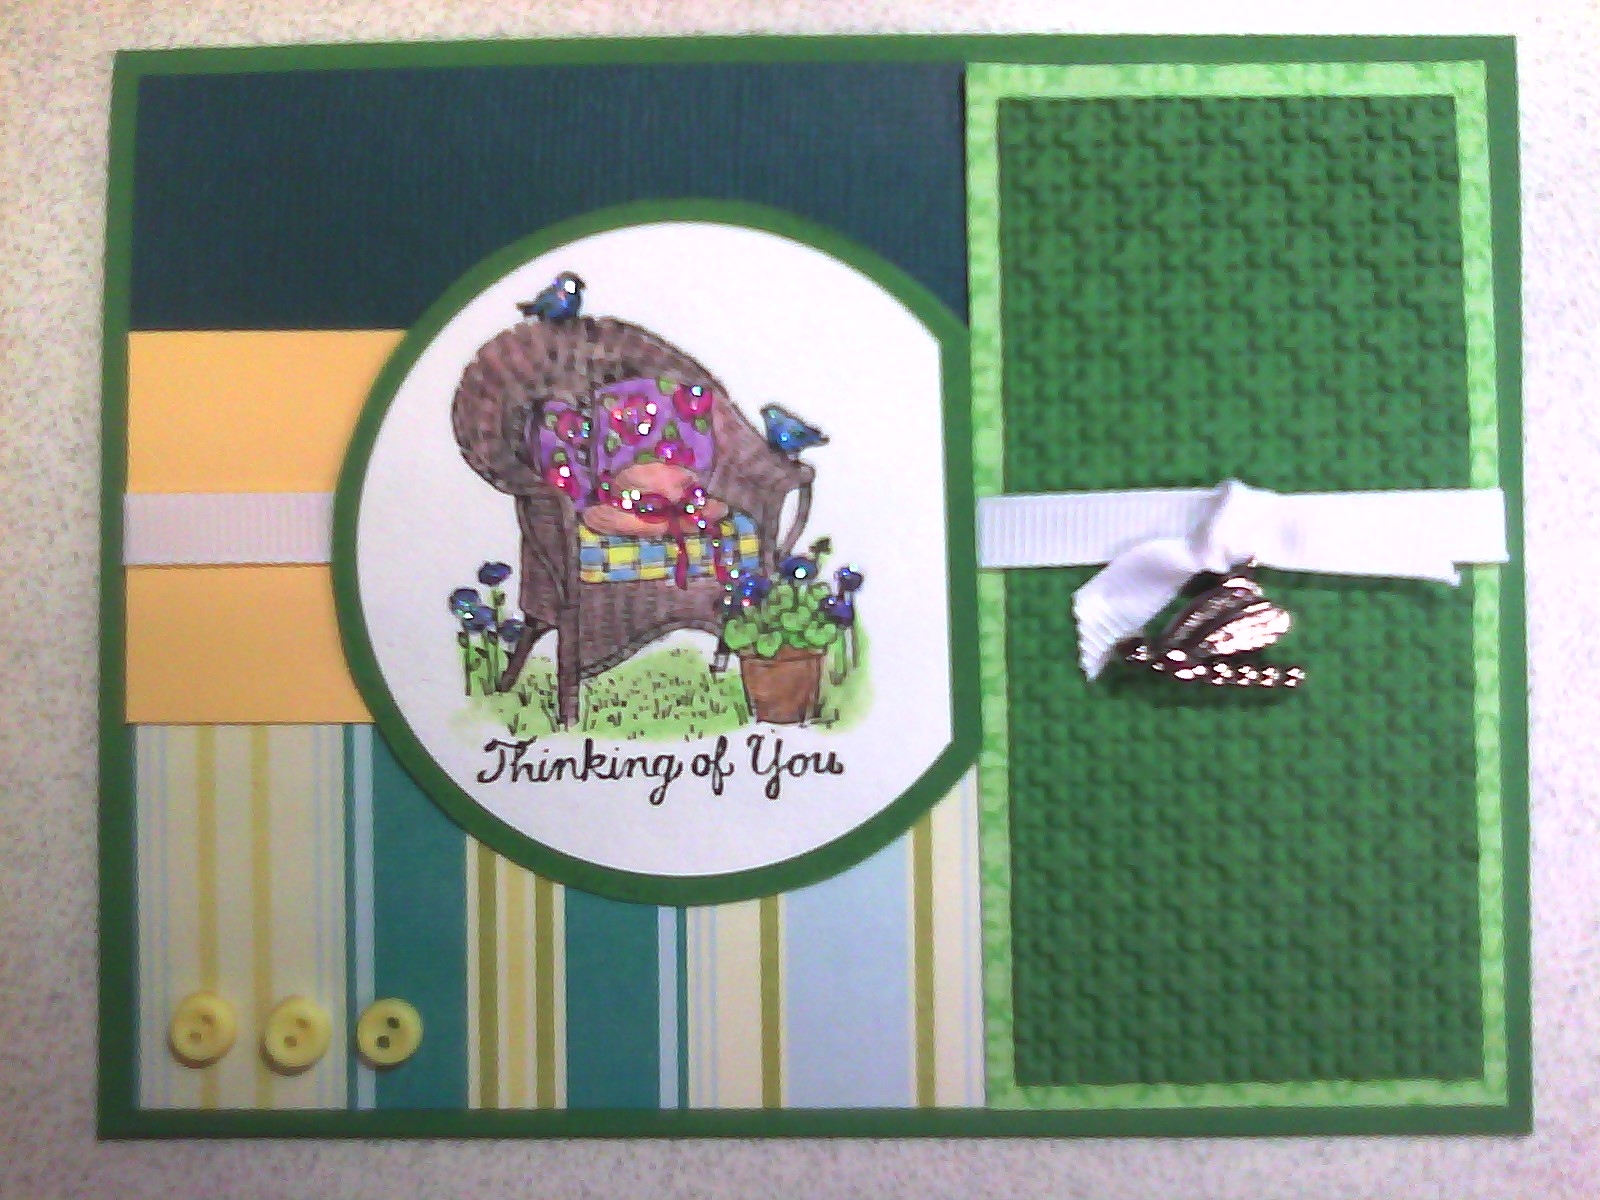
Card 1:  Thinking of you


I used watercolor pencils and blender pens to color the image and then used Stickles for bling.

I added a fun dragon fly brad to this card and staged it to sit above textured green cardstock to represent grass.

Card 2: To Someone Special


I again used watercolor pencils, blender pens, and Stickles for the stamped image.

I used graduate dew drops and a punched border with white ribbon to finish.
Card 3:  Miss You
I again used watercolor pencils, blender pens, and Stickles for the stamped image.


I used my scallop circle punch and cut it apart to make the border large enough for my stamped and layered image.
Punched flowers with brad centers finished off the details.

Card 4:  Best Wishes
I added cute little dragonfly buttons.
Punched flowers and brad centers finished this card.
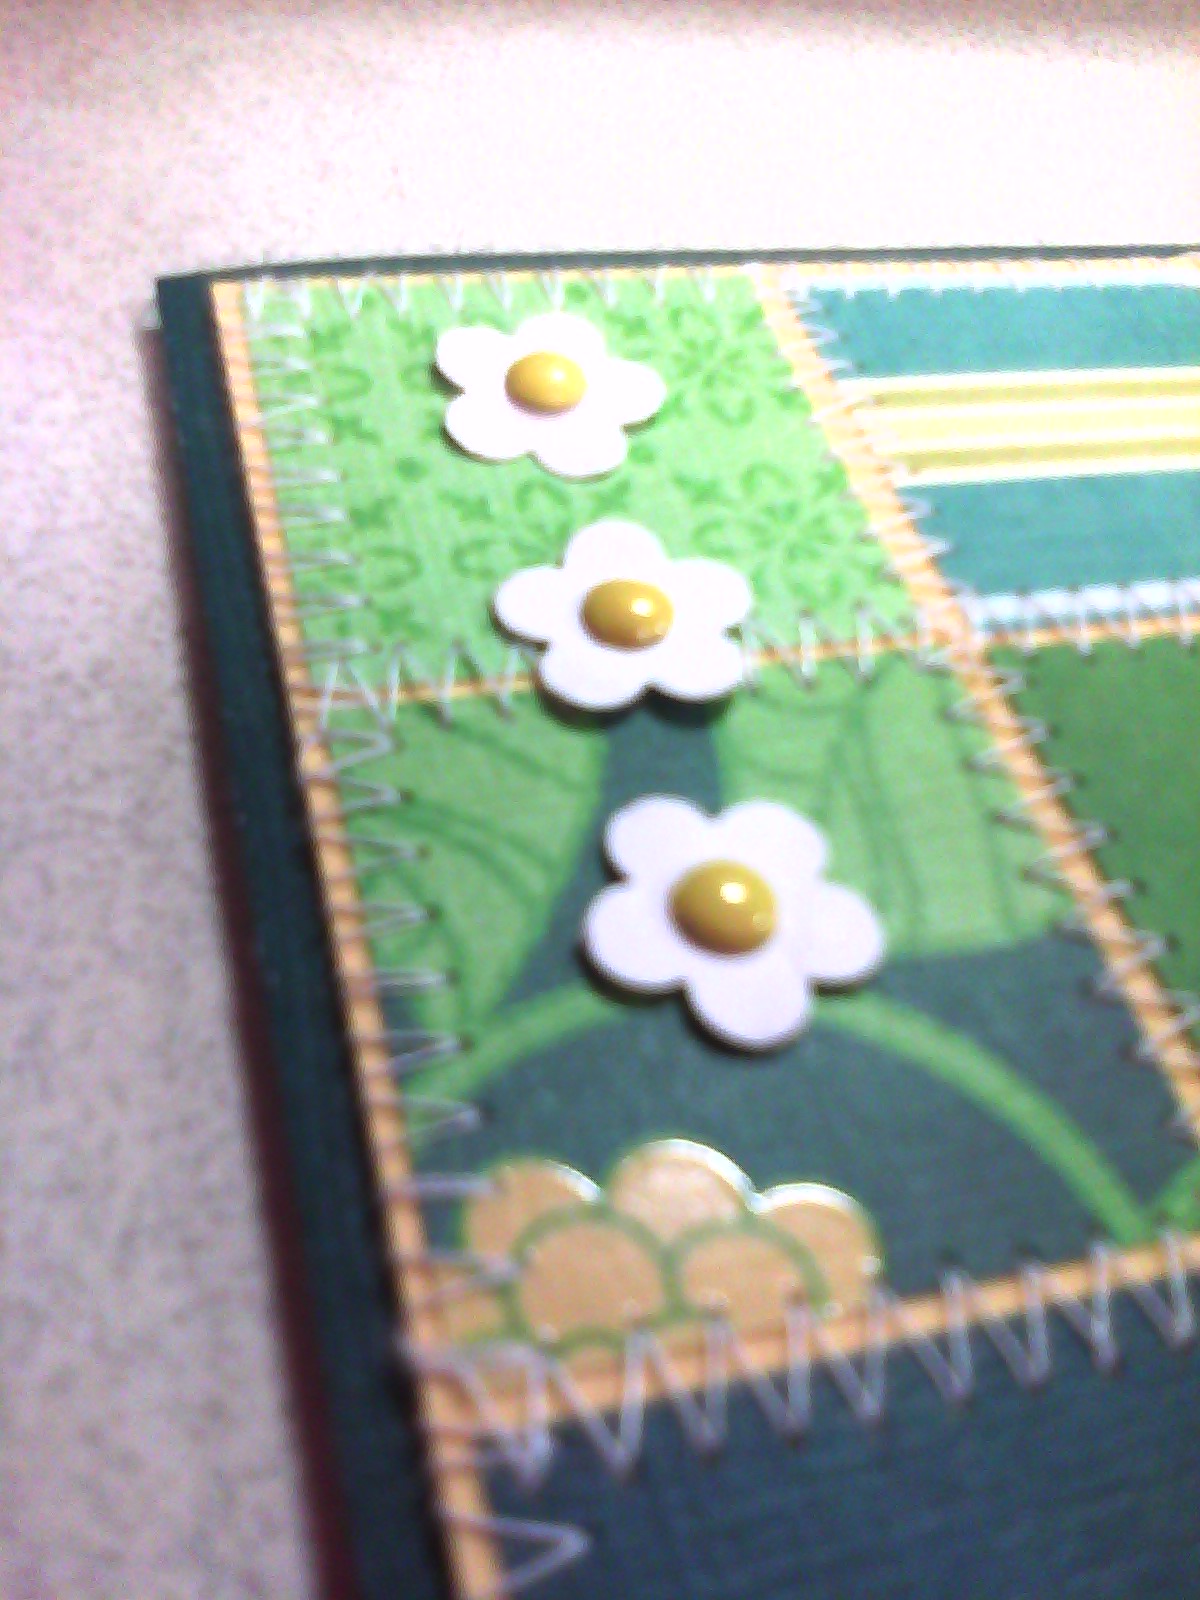
Card 5:  you're too kind Quilt Card
I used a metal frame accent, with brads and white ribbon as well as machine stitching.
And again finished with white punched flowers with yellow brad centers.
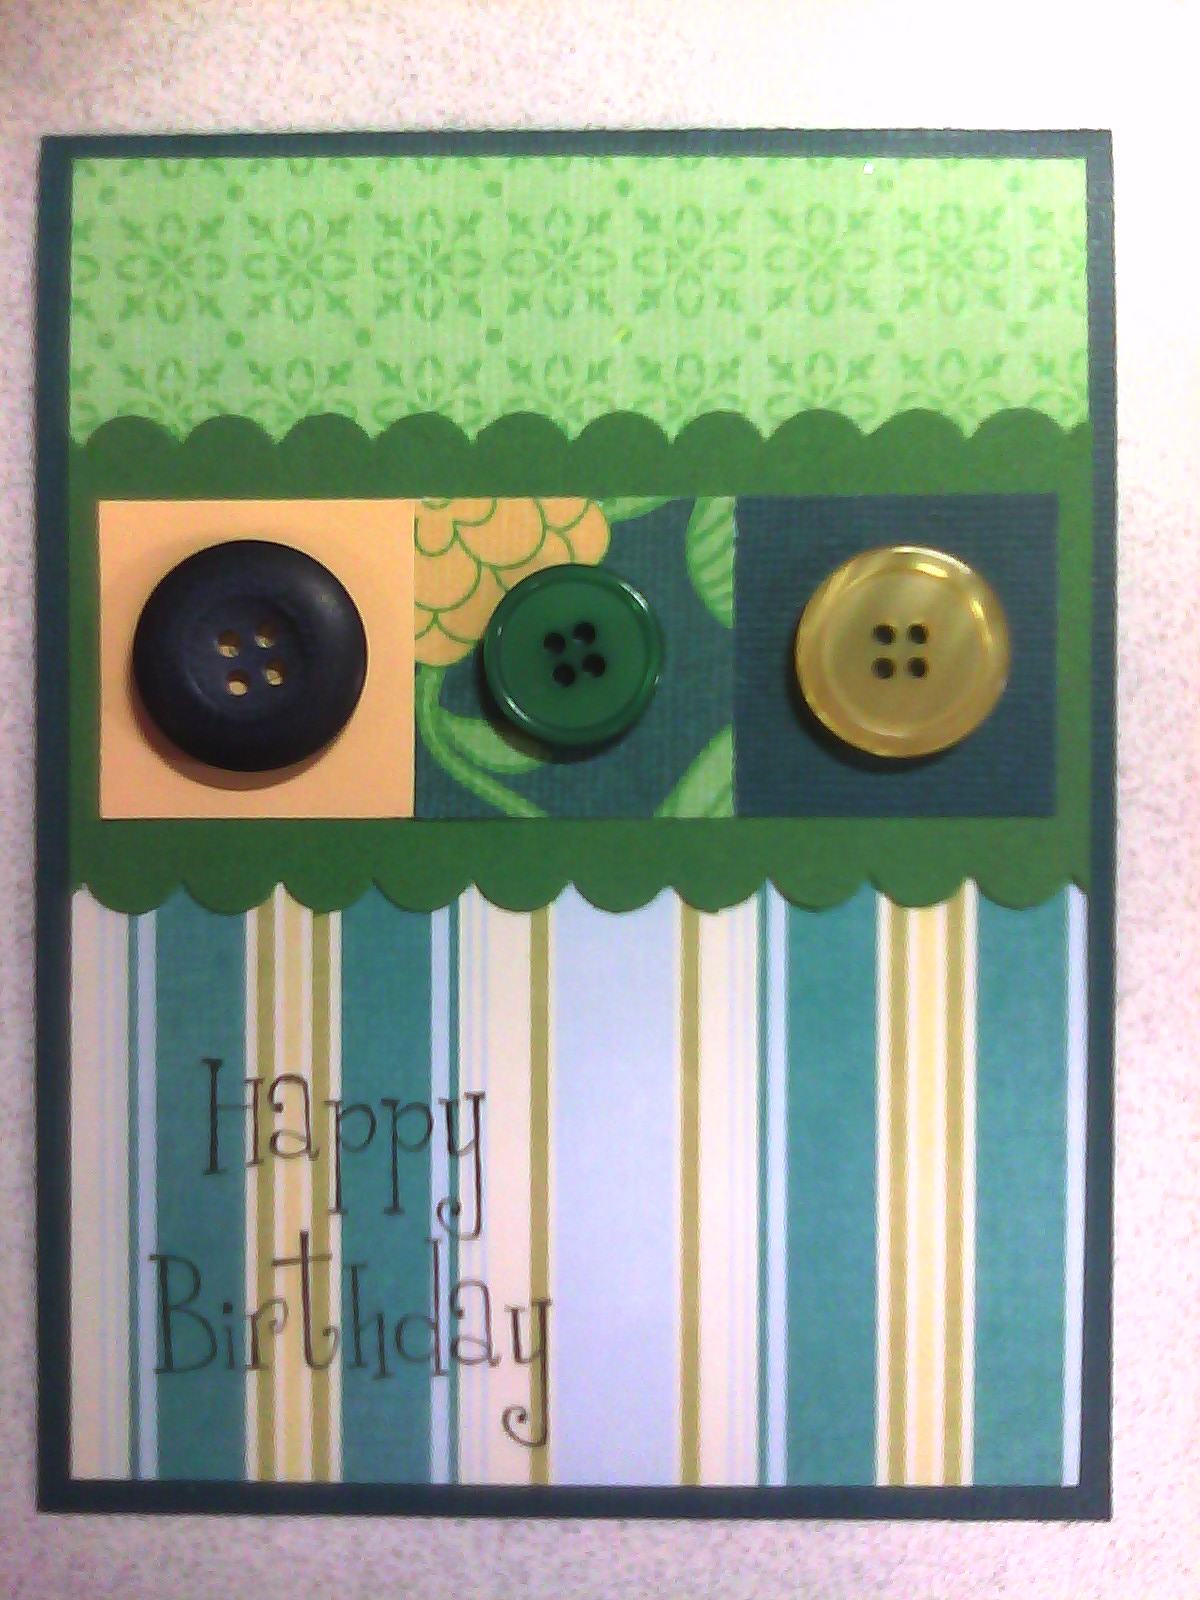
Card 6:  Happy Birthday
I used a scallop border punch, square punch, and mismatch buttons to finish this card.
I call it the fun and funky look!

What do you think?

Sunday, May 1, 2011

Thrifty Scrapbook Tip: Chipboard Box Tutorial

I told you that I was going to show you some cool things you can make with chipboard recycled from things around your home.  This box was made out of a cracker box.


 I started by opening the seems of the box and laying it flat.
 Then I trimmed it to 8 inches wide (each side pane was 4 inches)
 When I was done I had two pieces, one measuring 8 x 4" and one 6 1/2 x 4" (I took advantage of the 1/2"edge the manufaturer used to create the box, in addition to their fold lines). 

 I applied sticky strip to the smaller of the two pieces as shown in the photo.


 Then I assembled my shell.

 The drawer started with a 8" square scored at 2" on all sides.
 I snipped two score marks on opposite sides.

 So here is the drawer snipped and ready to apply sticky strip.


 I applied sticky strip as shown in this photo.

 I embellished by adding a handle and a rose made from the Stampin Up Ornament punch.

Thanks for looking!  I hope you enjoy finding uses to recyle your chipboard in your paper crafting!